How to Choose Hiking Boots (and Why Most People Buy Too Much Boot)
By the Outdoors Haven editors 8 min read Updated October 6, 2026
What changed: Expanded in October 2026 and re-checked against official sources such as the NPS, state agencies and manufacturers.
Pack this into your head
- Choose by pack weight first, terrain second; a stiff sole only earns its weight under load
- Leave a thumb's width in front of your longest toe so descents don't bruise toenails
- A heel that lifts causes blisters, and breaking in rarely fixes it
- Waterproof boots suit cold, wet trails; mesh shoes dry faster in heat and stream crossings
- Wool or synthetic socks, never cotton, prevent more blisters than any boot feature
- Most good boots cost $150 to $250 in 2026; leather backpacking boots run $250 to $450
- Replace shoes when the midsole feels flat or the tread stops gripping wet rock
On this route
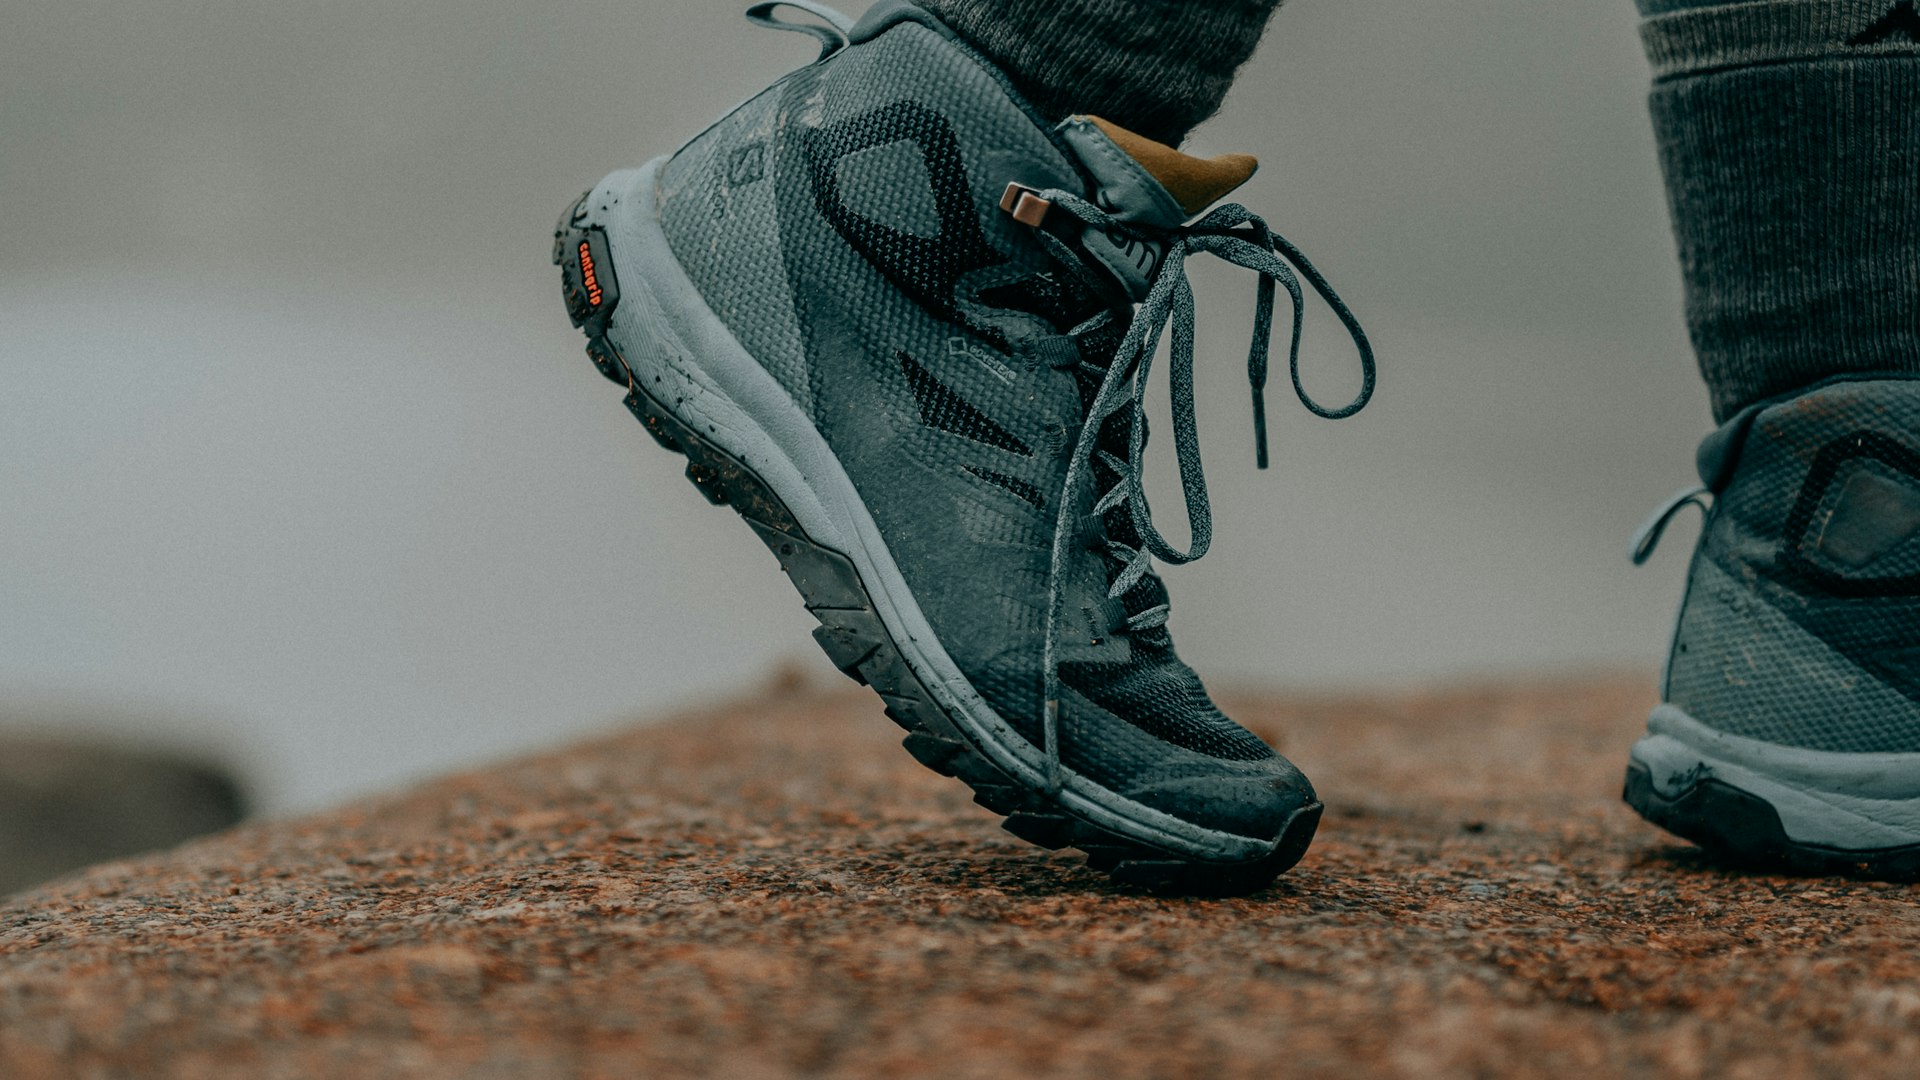
To choose hiking boots, start with the weight you’ll carry, not the trail. Trail runners and hiking shoes suit day hikes with a light pack, mid-cut hiking boots suit rough ground and loads up to about 30 pounds, and stiff backpacking boots earn their weight from roughly 40 pounds up. Then fit them carefully: afternoon, hiking socks on, a thumb’s width in front of your longest toe and no heel lift.
The most common mistake is buying too much boot. Heavy, stiff boots on a day hiker mean tired legs, a slower pace and more blisters, and they sell constantly because they look like what a hiking boot is supposed to look like. Fit matters more than brand, price or anything printed on the box.
Match the boot to your load, not the terrain
A stiff sole and a tall, rigid upper exist to stop your foot flexing and rolling under a heavy load. Without that load, they just stop your foot flexing. That’s why the weight on your back is the best first filter.
| Type | Best for | Pack weight (rule of thumb) | Break-in | Typical price, 2026 |
|---|---|---|---|---|
| Trail runners | Day hikes and fast, light trips on established trails | Up to about 20 lb | None | $130 to $180 |
| Hiking shoes (low-cut) | Day hikes, mixed trail, travel | Up to about 25 lb | Minimal | $120 to $180 |
| Mid-cut hiking boots | Rocky or uneven ground, overnight trips | Up to about 30 to 35 lb | A few short walks | $150 to $250 |
| Backpacking boots | Multi-day trips with heavy loads, off-trail, snow | About 40 lb and up | Several weeks for leather | $250 to $450 |
These are rules of thumb, not limits. Plenty of long-distance hikers now walk entire thru-hikes in trail runners with light packs, and some people with weak ankles or a history of sprains prefer a mid boot even for short walks. The National Park Service’s Hike Smart guidance recommends sturdy, rubber-soled boots for dirt and gravel trails and says plain tennis shoes are fine for paved paths. Heels, flip-flops and open-toed sandals are the footwear that gets people hurt.
If you mostly do day hikes with a small pack, start with a hiking shoe or trail runner. If you’re moving toward overnight trips or the loose rock and talus described in the step from scrambling to mountaineering, a mid boot is the sensible next pair.
How hiking boots should fit
A boot that fits badly will hurt no matter what it cost. Fit it like this:
- Shop late in the day. Feet swell during the day and swell more on a long hike. A boot fitted in the morning often feels tight by mile six.
- Wear your hiking socks. Sock thickness changes fit as much as a half size. Bring the pair you’ll actually hike in, and any insoles or orthotics you use.
- Check toe room. With the boot unlaced, slide your foot forward until your toes touch the front. You should fit about a finger behind your heel. Laced up, you want roughly a thumb’s width in front of your longest toe, which is not always the big toe.
- Lock the heel. Lace firmly and walk. A little movement is normal in a stiff new boot, but if your heel lifts noticeably, try another size, width or brand. Heel lift is the classic cause of blisters, and breaking in rarely cures it.
- Test a slope. Many stores have a small ramp. Walk down it. If your toes jam into the front, the boot is too short or the laces too loose over the instep.
- Feel for pressure points. Any rub or pinch across the top, the sides or the ankle bone in the store will be worse after 10 miles.
Width matters as much as length. Many brands sell wide versions of popular models, and a wide foot crammed into a standard last is a common source of pain on the outside of the foot. Women’s models are built on a different last, usually narrower in the heel, so try both if neither fits well.
Ankle support: what it does and doesn’t do
A taller collar does three useful things: it keeps out gravel and snow, protects the ankle bone from rock strikes, and gives some feedback that helps you notice a roll sooner. With a heavy pack, a stiff mid or high boot also reduces how much your foot twists under the load.
What it doesn’t do is make an ankle sprain impossible. A soft, flexible collar offers little mechanical support, and for many hikers balance, strength and a lighter pack prevent more rolled ankles than boot height. If you’ve had repeated sprains, a mid boot is reasonable. If you haven’t, don’t assume you need one.
Waterproof or not
Waterproof boots use a membrane, such as GORE-TEX, laminated inside the upper. GORE-TEX describes its membrane as an ePTFE layer whose pores are far too small for liquid water to pass but large enough for water vapor to escape. In practice that works well against rain, wet grass, mud and shallow puddles.
The trade-offs are real:
- Heat. Any membrane slows sweat escaping. In summer heat, feet get damp from the inside, and damp skin blisters.
- Water over the top. If a stream crossing goes above the collar, the membrane holds that water in. A non-waterproof mesh shoe drains and can dry in hours. A wet waterproof boot can stay wet for days.
- Cost. Waterproof versions usually cost more than the same model without the membrane.
Choose waterproof for cold, wet, muddy or snowy hiking, shoulder seasons and rainy climates like the Pacific Northwest or the Appalachians in spring. Choose non-waterproof for desert and summer heat, and for routes where you’ll wade anyway, such as canyon hikes. Whichever you buy, walk through the mud rather than around it: trampling the trail edges is how muddy trails get wider, as the Leave No Trace principles explain.
Soles, midsoles and uppers: reading the spec sheet
Outsole. The rubber tread. Deeper, widely spaced lugs grip mud and loose dirt and shed debris; shallower, stickier rubber grips dry rock better. A heel brake, a distinct step at the back of the sole, helps on steep descents.
Midsole. The cushioning layer, usually EVA foam or polyurethane (PU). EVA is lighter and softer; PU is firmer and more durable, and it’s common in heavier backpacking boots. The midsole is usually the first part to wear out, long before the upper looks tired.
Shank and plate. Stiff inserts between midsole and outsole. They make a boot stiffer and protect the foot from sharp rocks. Useful with a heavy pack or on talus, unnecessary on a smooth trail.
Upper. Full-grain leather is durable, water resistant and supportive but heavier, hotter and slower to break in. Synthetic and leather-mesh uppers are lighter and break in fast but wear out sooner. Many mid-cut boots mix the two.
Resoling. Some leather boots are built to be resoled, which can double their life. Bootmakers such as SCARPA run official resoling programs. A brand-name rubber sole alone doesn’t mean a boot can be rebuilt, so check with the maker before you count on it.
Socks and blisters
Socks prevent more blisters than any boot feature. The NPS recommends thick wool or synthetic socks that wick moisture for longer hikes, and moleskin in your kit for hot spots.
- No cotton. Cotton holds sweat against your skin, and wet, softened skin blisters fast.
- Merino or synthetic. Merino stays comfortable across a wider range of temperatures; synthetics dry faster and last longer. Blends do both reasonably well.
- Cushion to match the boot. Thicker socks for stiff boots and cold weather, lighter ones for trail runners and heat. Change thickness and you change fit.
- Carry a spare pair on long days and swap at lunch.
- Stop at the first hot spot. Tape or moleskin on a red spot takes a minute; treating an open blister takes much longer. Pack supplies as part of your outdoor first aid kit.
How much to spend
As of 2026, most good hiking footwear falls in a fairly narrow band. Popular mid-cut waterproof boots typically list around $150 to $250; Merrell’s Moab 3 Mid Waterproof, for example, lists at $175 on the brand’s site. Full-grain leather backpacking boots from European bootmakers commonly run $250 to $450. Trail runners and hiking shoes mostly sit between $120 and $180.
Under about $100 you’ll usually get softer foam that packs out quickly and less durable uppers, which is fine for occasional easy walks. Above $300, you’re paying for leather, stiffness, resolability or specialist features like crampon compatibility. The best value is the pair that fits, bought at a store that lets you return boots you’ve only worn indoors.
Breaking them in and when to replace them
Break-in. Wear new footwear around the house first, so you can still return it. Then take short walks, then a short hike, before anything long. Leather backpacking boots may need several weeks of gradually longer outings. Never debut new boots on a big or remote hike, especially one at the edge of how far you can hike in a day.
Replacement. Mileage guides are rough: trail runners commonly last a few hundred miles, and sturdy hiking boots often 500 to 1,000 miles depending on your weight, pack and terrain. Condition is a better guide:
- The tread is worn smooth and slips on wet rock or roots.
- The midsole shows deep, permanent creases or feels flat and hard.
- The shoe leans or collapses to one side when you set it on a table.
- Your feet, knees or shins ache on hikes that used to feel easy.
Uppers usually outlast midsoles, so boots often look fine long after the cushioning has died. If your feet start hurting in a pair that never used to bother you, believe your feet rather than the leather.
Questions people ask
Do I need waterproof hiking boots?
Only in cold, wet or muddy conditions. A waterproof membrane keeps out rain and puddles, but it also slows sweat escaping and makes boots warmer. Once water pours in over the collar during a stream crossing, it stays in. In hot, dry weather or where you will wade anyway, non-waterproof shoes are usually better because they dry in hours instead of days.
How should hiking boots fit?
Snug through the heel and midfoot, roomy in the toes. You want about a thumb's width between your longest toe and the end of the boot, a heel that doesn't lift when you walk, and no pressure points across the top or sides. Try them on late in the day when your feet have swollen, wearing the socks you'll actually hike in.
Are hiking shoes or boots better for beginners?
For most beginners doing day hikes on maintained trails, hiking shoes or trail runners are the better first purchase. They're lighter, need little or no break-in and cause fewer blisters. Choose a mid-cut boot if you'll hike rocky, uneven ground often, carry a heavier overnight pack, or simply feel more confident with the extra protection around the ankle.
Do hiking boots need breaking in?
Trail runners and most synthetic hiking shoes need almost none. Mid-cut synthetic boots need a few short walks. Full-grain leather backpacking boots need the most, often several weeks of gradually longer outings, because the leather has to soften and shape to your foot. Whatever the type, don't take brand-new footwear on a long or remote hike.
How long do hiking boots last?
It depends on construction, weight and terrain. Trail runners commonly last a few hundred miles, while sturdier hiking boots often reach 500 to 1,000 miles. Judge by condition rather than mileage: replace them when the midsole feels flat and hard, the tread no longer grips wet rock, or your feet start aching on hikes that used to feel fine.
Keep going
Next on the trail
The 7 Leave No Trace Principles, Explained With Real Trail Examples
The seven Leave No Trace principles are: plan ahead and prepare; travel and camp on durable surfaces; dispose of waste properly; leave…
Sep 29, 2026 · 7 min
From Scrambling to Mountaineering: What Each Step Up Demands
Scrambling is Class 3 terrain where you use your hands to climb but usually no rope, while mountaineering adds snow, ice, glaciers…
Oct 6, 2026 · 7 min
How Far Can You Hike in a Day? Realistic Miles by Fitness and Terrain
Most beginners can comfortably hike 5 to 8 miles in a day on moderate trails, regular hikers 8 to 15 miles, and…
Sep 29, 2026 · 7 min