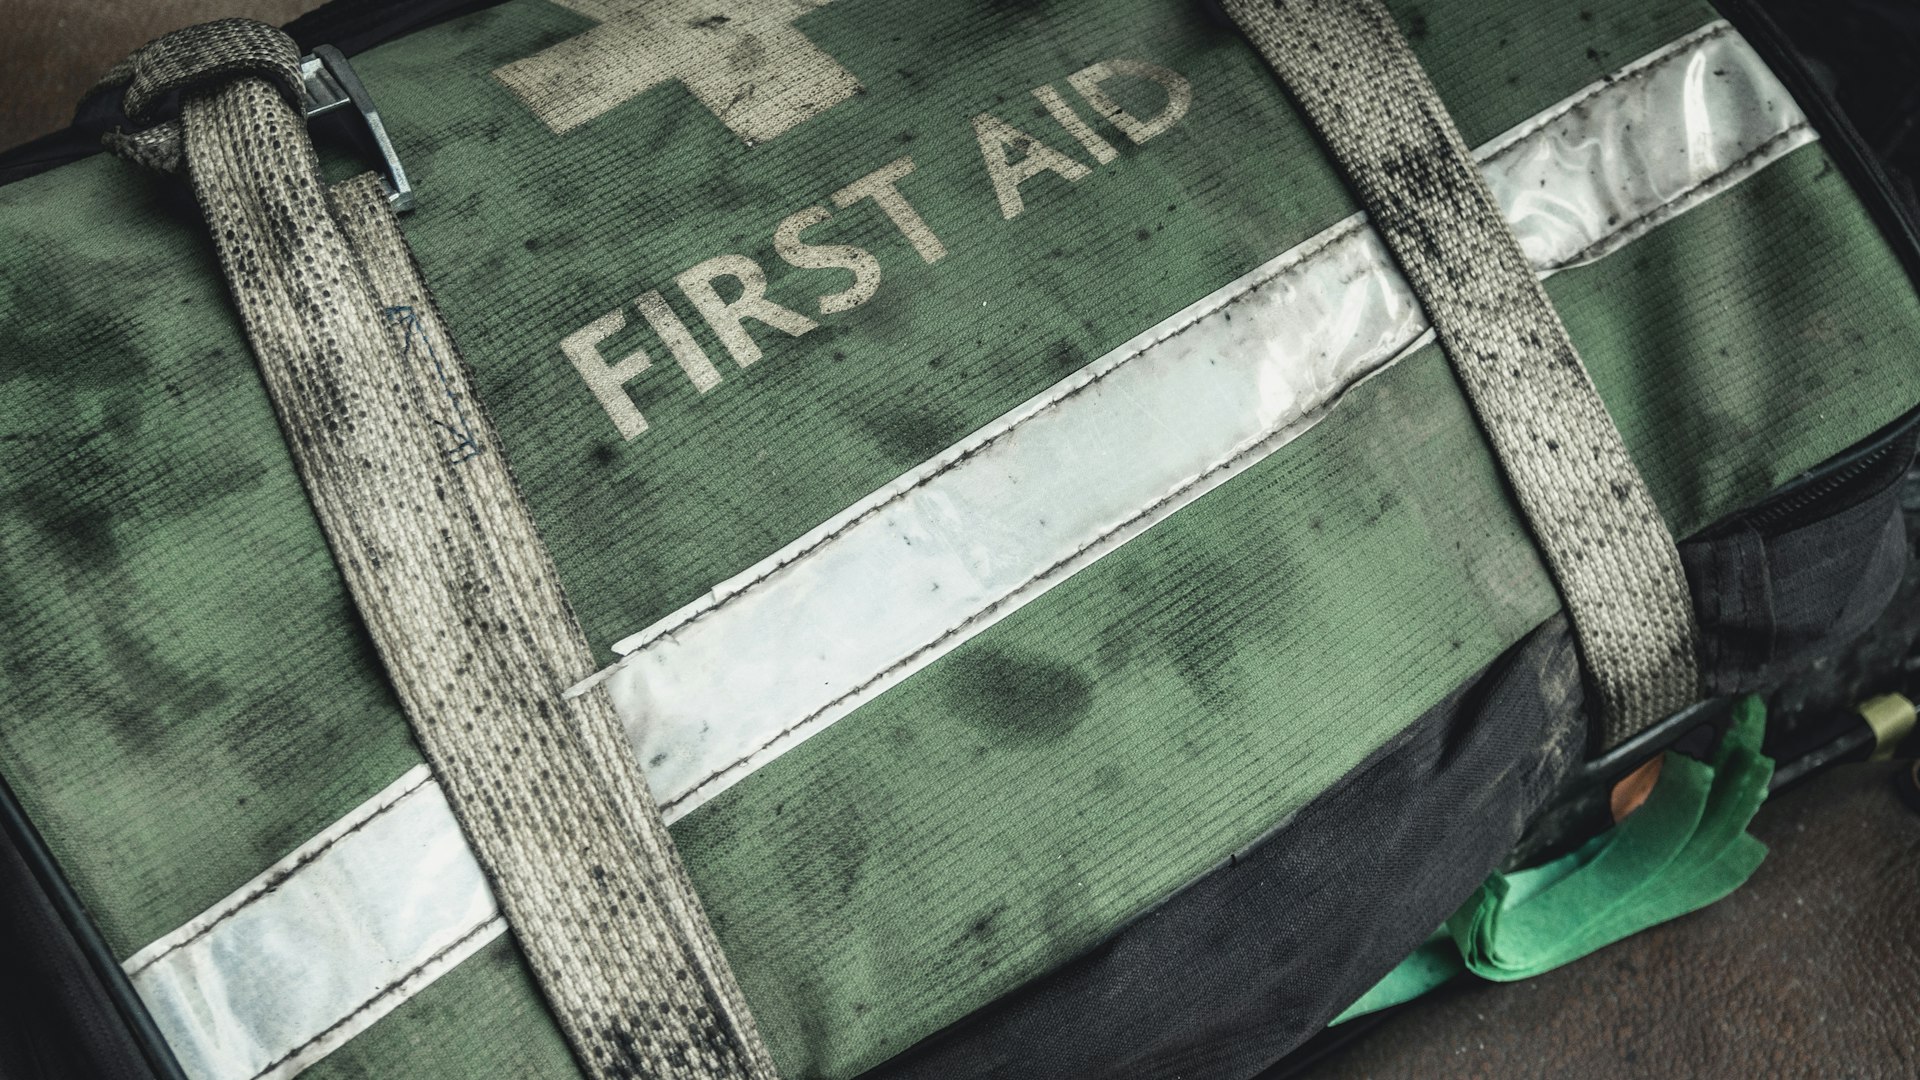
What to Put in an Outdoor First Aid Kit: A Hiking and Camping Checklist
By the Outdoors Haven editors 7 min read Updated October 6, 2026
What changed: Expanded in October 2026 and re-checked against official sources such as the NPS, state agencies and manufacturers.
Pack this into your head
- Blister care is the part of the kit you will use most
- Fine-tipped tweezers handle splinters and ticks; the CDC says pull straight up
- Carry personal medication and know where anyone's epinephrine auto-injector is
- Size the kit to the trip: a day-hike pouch weighs only a few ounces
- A 16-hour wilderness first aid course is worth more than any single item
- Restock after every trip and check expiration dates each season
On this route
An outdoor first aid kit should be built around what actually goes wrong on the trail: blisters, cuts and scrapes, sprains, splinters, ticks, stings and upset stomachs. That means blister dressings and tape first, then wound supplies, an elastic wrap, fine-tipped tweezers, gloves, basic medications and a space blanket. Leave out anything you have not been trained to use, and pack the kit yourself so you know where everything is.
Most kits carried outdoors are either a sealed box that has never been opened or a bag of loose bandages. Neither helps much when someone sits down on a rock with a bleeding shin and a hot spot on each heel. A good kit is small, organized, matched to the trip, and backed by a little training.
What actually goes wrong outdoors
The common problems are undramatic, and a kit stocked for them is more useful than one stocked for trauma you cannot treat:
- Foot problems: hot spots and blisters, by far the most frequent.
- Skin injuries: cuts, scrapes, splinters, burns from a stove or campfire.
- Joints: rolled ankles and twisted knees, usually on descents.
- Bites and stings: ticks, bees, wasps, mosquitoes, and allergic reactions to any of them.
- Stomach trouble: from food, untreated water or unwashed hands.
- Environmental problems: sunburn, dehydration, heat exhaustion and cold. These are handled more by your clothing, water and timing than by the kit itself.
The core kit checklist
The American Red Cross list for a family first aid kit is a good baseline. It includes absorbent compress dressings, 25 assorted adhesive bandages, cloth tape, antibiotic ointment and antiseptic wipe packets, aspirin, an emergency blanket, a breathing barrier, an instant cold compress, nonlatex gloves, hydrocortisone ointment, roller bandages, sterile gauze pads, a thermometer, triangular bandages and tweezers. For the trail, trim the quantities and add blister care and a few medications.
| Category | What to pack | What it handles |
|---|---|---|
| Blister care | Moleskin or blister pads, hydrocolloid dressings, a roll of athletic or medical tape | Hot spots and blisters |
| Wound care | Adhesive bandages in several sizes, sterile gauze pads, wound-closure strips, antiseptic wipes, antibiotic ointment | Cuts, scrapes, punctures |
| Cleaning | Small squeeze bottle or irrigation syringe, hand sanitizer | Flushing dirt out of wounds with clean water |
| Support | Elastic bandage, triangular bandage | Sprains, slings, holding dressings in place |
| Tools | Fine-tipped tweezers, small scissors or trauma shears, safety pins, nonlatex gloves | Splinters, ticks, cutting tape, protecting yourself |
| Medication | Pain reliever, antihistamine, anti-diarrheal, hydrocortisone cream, personal prescriptions | Pain, swelling, allergic reactions, itching, stomach trouble |
| Emergency | Space blanket, whistle, a pencil and a card for notes | Keeping a hurt person warm, signaling, recording what happened |
Blister care: the part you will use most
A blister is easier to prevent than to treat. The moment you feel a warm or rubbing spot, stop and deal with it: take off the boot, dry the skin, and cover the spot with tape, moleskin or a blister pad. Ten minutes at the first hot spot often saves the rest of the trip.
If a blister has already formed, small intact ones are usually best left closed and protected with a padded dressing, such as moleskin with a hole cut around the blister. A large, tense blister that will burst anyway is commonly drained at the edge with a clean needle, leaving the roof of skin in place as a natural dressing, then covered. Wash your hands or use sanitizer first, and watch afterward for redness, warmth or pus, which are signs of infection.
Footwear and socks are the real fix. Our guide to choosing hiking boots explains fit, and why many blisters come from boots that are too stiff or too big.
Medications worth carrying
Keep medicines in their original labeled packaging or a clearly labeled small bag, and ask a pharmacist or doctor if you are unsure what suits you or your children.
- A pain reliever and anti-inflammatory for headaches, sprains and sore knees.
- An oral antihistamine for stings, hives and mild allergic reactions.
- An anti-diarrheal and, for longer trips, oral rehydration salts.
- Hydrocortisone cream for itching from bites and plants.
- Personal prescriptions, with a few days’ extra on longer trips.
If anyone in the group carries an epinephrine auto-injector for a severe allergy, everyone should know where it is and how it is used. An antihistamine does not replace it. Severe swelling of the face or throat, trouble breathing or fainting after a sting is an emergency: use the auto-injector if one is prescribed and call for help.
Ticks, splinters and cleaning wounds
Fine-tipped tweezers earn their place for ticks alone. The CDC’s tick removal advice is to grasp the tick as close to the skin as possible and pull upward with steady, even pressure, without twisting or jerking. Then clean the bite and your hands with soap and water, rubbing alcohol or sanitizer. Do not use petroleum jelly, heat or nail polish to make the tick let go. If you develop a rash or fever within several weeks, see a doctor and mention the bite.
For cuts, the most useful step is flushing out dirt with plenty of clean water before dressing the wound. Water that is safe to drink is safe for this. Our guide to purifying water backpacking covers filters, tablets and boiling. Deep wounds, wounds that gape, bites from animals, and anything that will not stop bleeding with firm direct pressure need medical care.
Size the kit to the trip
| Trip | What to carry | Packs into |
|---|---|---|
| Day hike | Blister care, 6 to 8 bandages, 2 gauze pads, tape, pain relief, antihistamine, tweezers, gloves, space blanket | A small zip pouch |
| Overnight or weekend | Add an elastic bandage, more dressings, anti-diarrheal, hydrocortisone, a small irrigation bottle | A pouch about the size of a paperback |
| Remote multi-day or group trip | Larger quantities, triangular bandages, rehydration salts, a splinting option, a satellite messenger or other way to call for help | A larger pouch or small stuff sack |
| Paddling trip | Same as above, plus extra warm layers in a dry bag | A waterproof bag clipped into the boat |
| With a dog | Add dog booties or vet wrap and tweezers for paw splinters and ticks | Adds little to the human kit |
On a canoe trip, the kit has to survive a capsize; our guide to planning a first canoe trip covers waterproof packing. If you hike with a dog, hiking with dogs covers the hazards that most often need first aid, from paws to heat.
In a group, one well-stocked shared kit works better than five half-empty ones, but each person should still carry their own blister supplies and personal medication. Groups split up on the trail, and the person with the shared kit is rarely the one who needs it. Tell everyone at the trailhead who has the main kit and where it sits in the pack.
What to leave out, and the training that matters
Leave out anything you do not know how to use. Suture kits, airway devices and prescription drugs you have not been trained on add weight and false confidence. The same goes for snakebite suction kits and tourniquets carried without instruction.
The most valuable addition is not a thing. A wilderness first aid course teaches you to assess an injured person, decide whether they can walk out, improvise splints from trekking poles and foam pads, and recognize when to call for help. NOLS lists its Wilderness First Aid course at 16 hours over two to two and a half days, with tuition between about $200 and $450 depending on location as of 2026 and a certification valid for two years. Other providers, including the Red Cross, run similar courses.
Problems the kit cannot fix
Some of the most serious outdoor emergencies are prevented by clothing, water and decisions rather than treated from a pouch. Cold, wet and windy weather causes hypothermia even in summer, and the warm layer and space blanket in your pack are your first-line treatment; see our guide to hypothermia signs and prevention. Heat exhaustion needs shade, water and rest. Chest pain, trouble breathing, a head injury with confusion, or a leg that cannot bear weight all mean calling for help early rather than waiting.
Know how you would do that before you leave: where cell coverage ends, whether someone in the group has a satellite messenger, and who has your trip plan.
Keep the kit usable
- Waterproof it. A zip bag inside a brightly colored pouch keeps contents dry and easy to find.
- Keep it reachable. Near the top of the pack, in the same place every trip, so anyone in the group can find it.
- Restock after every trip. Replace what you used before the kit goes back in the closet.
- Check dates each season. The Red Cross advises checking expiration dates regularly and replacing used or out-of-date items.
- Do not store it in a hot car. Heat degrades medications and adhesives.
First aid supplies are one of the National Park Service Ten Essentials, and our checklist of what to pack for a day hike covers the other nine. Before your next trip, open the kit, take everything out, and put it back in. That five-minute check is how you find the empty blister pack before you need it.
This article is general information, not medical advice. For serious injuries or illness, call 911 or your local emergency number.
Questions people ask
What should be in a basic hiking first aid kit?
Blister dressings or moleskin and tape, adhesive bandages in several sizes, sterile gauze pads, antiseptic wipes, antibiotic ointment, an elastic bandage, fine-tipped tweezers, small scissors, nonlatex gloves, a pain reliever, an antihistamine, an anti-diarrheal, any personal medication and a space blanket. For a day hike this fits in a pouch the size of a paperback.
Is a store-bought first aid kit good enough for hiking?
It is a reasonable starting point. Most ready-made kits are heavy on small adhesive bandages and light on blister care, tape and medication. Open it at home, learn what is inside, add blister supplies, an elastic wrap and your own medicines, and remove what you would never use. A kit you have packed yourself is a kit you can find things in quickly.
How do you remove a tick on the trail?
The CDC advises grasping the tick as close to the skin as possible with clean fine-tipped tweezers and pulling upward with steady, even pressure, without twisting or jerking. Clean the bite and your hands afterward. Do not use petroleum jelly, heat or nail polish. If a rash or fever develops in the following weeks, see a doctor and mention the bite.
Do I need first aid training to go hiking?
It is not required, but it is the most useful thing you can add to any kit. A wilderness first aid course teaches you to assess an injury, decide whether someone can walk out, and improvise splints and dressings. NOLS lists its course at 16 hours over two to two and a half days, with a certification valid for two years.
Should I carry a first aid kit on a short day hike?
Yes. First aid supplies are one of the National Park Service's Ten Essentials, and a day-hike version weighs only a few ounces: blister care, a few dressings, tape, pain relief, an antihistamine, tweezers and a space blanket. The injuries that end short hikes, such as blisters, scrapes and twisted ankles, are the same ones that happen on long ones.
Keep going
Next on the trail
How to Choose Hiking Boots (and Why Most People Buy Too Much Boot)
To choose hiking boots, match the boot to the weight you carry, then fit it carefully. Trail runners or hiking shoes suit…
Oct 6, 2026 · 8 min
Sleeping Bag Temperature Ratings: What the Number Actually Means
Sleeping bag temperature ratings come from the ISO 23537 lab test, which gives three numbers. Comfort is the lowest temperature for sleeping…
Oct 6, 2026 · 7 min
How to Purify Water Backpacking: Filters, Tablets, UV and Boiling Compared
To purify water backpacking in the US, most hikers use a hollow-fiber filter rated 0.3 micron or smaller, which removes protozoa such…
Sep 29, 2026 · 7 min