From Scrambling to Mountaineering: What Each Step Up Demands
By the Outdoors Haven editors 7 min read Updated October 6, 2026
What changed: Expanded in October 2026 and re-checked against official sources such as the NPS, state agencies and manufacturers.
Pack this into your head
- Class 3 means hands on rock; Class 5 means ropes and protection
- Only climb up what you are confident you can climb back down
- Learn belaying, self-arrest and crevasse rescue on courses first
- CDC: altitude illness risk starts above about 8,000 feet
- Above 9,000 feet, raise your sleeping elevation by no more than 1,600 feet a day
- A guided four-day Rainier climb costs about $2,600 to $3,000 in 2026
- Set a turnaround time before you start and keep it
On this route
- The terrain classes, from trail to technical rock
- Scrambling: what the first step up asks of you
- Roped rock climbing
- Mountaineering: snow, ice and glaciers
- Altitude and how to acclimatize
- What each step demands in skills, gear and training
- When to hire a guide, and what it costs
- Turnaround times and the descent
- A progression that works
Scrambling is Class 3 terrain, where you use your hands to climb but usually not a rope. Mountaineering adds snow, ice, glaciers and altitude, and with them crampons, an ice axe, rope teams and crevasse rescue. Between the two sits roped rock climbing on Class 4 and 5 terrain. Each step demands skills that are learned on a course rather than on the peak you are trying to climb, and a first glaciated summit is best done with a guide.
The scrambling vs mountaineering question is really about a sequence of steps. Hiking turns into climbing gradually, and the dangerous moment is rarely the steepest one. It is the point where the terrain has quietly asked for a skill you do not have yet, and turning back feels harder than carrying on. Knowing the steps in between is what lets you recognize that point before you reach it.
The terrain classes, from trail to technical rock
In the United States, routes are described with the class system that forms the first part of the Yosemite Decimal System. Ratings are a guide, not a guarantee. The same route can feel a full class harder when the rock is wet, in the dark, or on the way down.
| Class | Terrain | Hands | Rope | What a fall means |
|---|---|---|---|---|
| Class 1 | Walking on a trail | No | No | A twisted ankle |
| Class 2 | Rough off-trail hiking, talus and boulders | Sometimes, for balance | No | Usually minor injuries |
| Class 3 | Scrambling: steep rock where hands are needed to move up | Yes | Rarely; some carry one for the descent | Serious injury possible |
| Class 4 | Steep, exposed scrambling or easy climbing | Yes | Often, especially for less experienced climbers | Could be fatal |
| Class 5 | Technical rock climbing, graded 5.0 to 5.15 | Yes | Yes, with protection and a belay | Caught by the rope if done correctly |
Longs Peak in Rocky Mountain National Park shows how serious Class 3 can be. Its Keyhole Route is commonly rated Class 3, and the park describes it as not a hike but a climb across sheer rock faces with falling rocks, where an unroped fall would likely be fatal. According to the NPS Longs Peak page the mountain is in winter conditions for most of the year, and summer brings afternoon thunderstorms and lightning. The park’s advice is to be willing to turn around at any time.
Scrambling: what the first step up asks of you
Moving from hiking to scrambling mostly asks for judgment and habits rather than gear:
- Downclimbing. Only climb up what you are confident you can climb back down. Descending is harder than ascending on most scrambles, because you cannot see your feet as well and fatigue has set in.
- Three points of contact. Move one hand or foot at a time and test holds before you weight them.
- Route-finding. Scrambles often have no trail. Read the route description and a topographic map before you go, and know where the exit points are; our guide to reading a topographic map covers spotting cliffs and gullies from contour lines.
- Rockfall. Wear a helmet on loose routes and in gullies, avoid climbing directly below other parties, and call “rock!” if you knock something loose.
- Weather. In the Rockies and Sierra, summer thunderstorms often build by early afternoon. Exposed rock is the worst place to be when they arrive.
Footwear matters more here than on trail. Approach shoes or boots with sticky rubber soles grip rock far better than heavily lugged hiking boots; our guide to choosing hiking boots explains the tradeoffs.
Roped rock climbing
Once a route needs a rope, it needs proper instruction. Belaying, tying in, building anchors, rappelling and managing a rope on multi-pitch routes are not skills to learn from a video on the day.
The usual path is an introductory course at a climbing gym, then an outdoor rock course with a certified guide, then a season of single-pitch climbing with experienced partners before multi-pitch routes. Rappelling deserves special attention: it is the way most climbers descend Class 4 and 5 terrain, and errors on rappel, such as uneven rope ends or a poorly built anchor, are unforgiving.
Mountaineering: snow, ice and glaciers
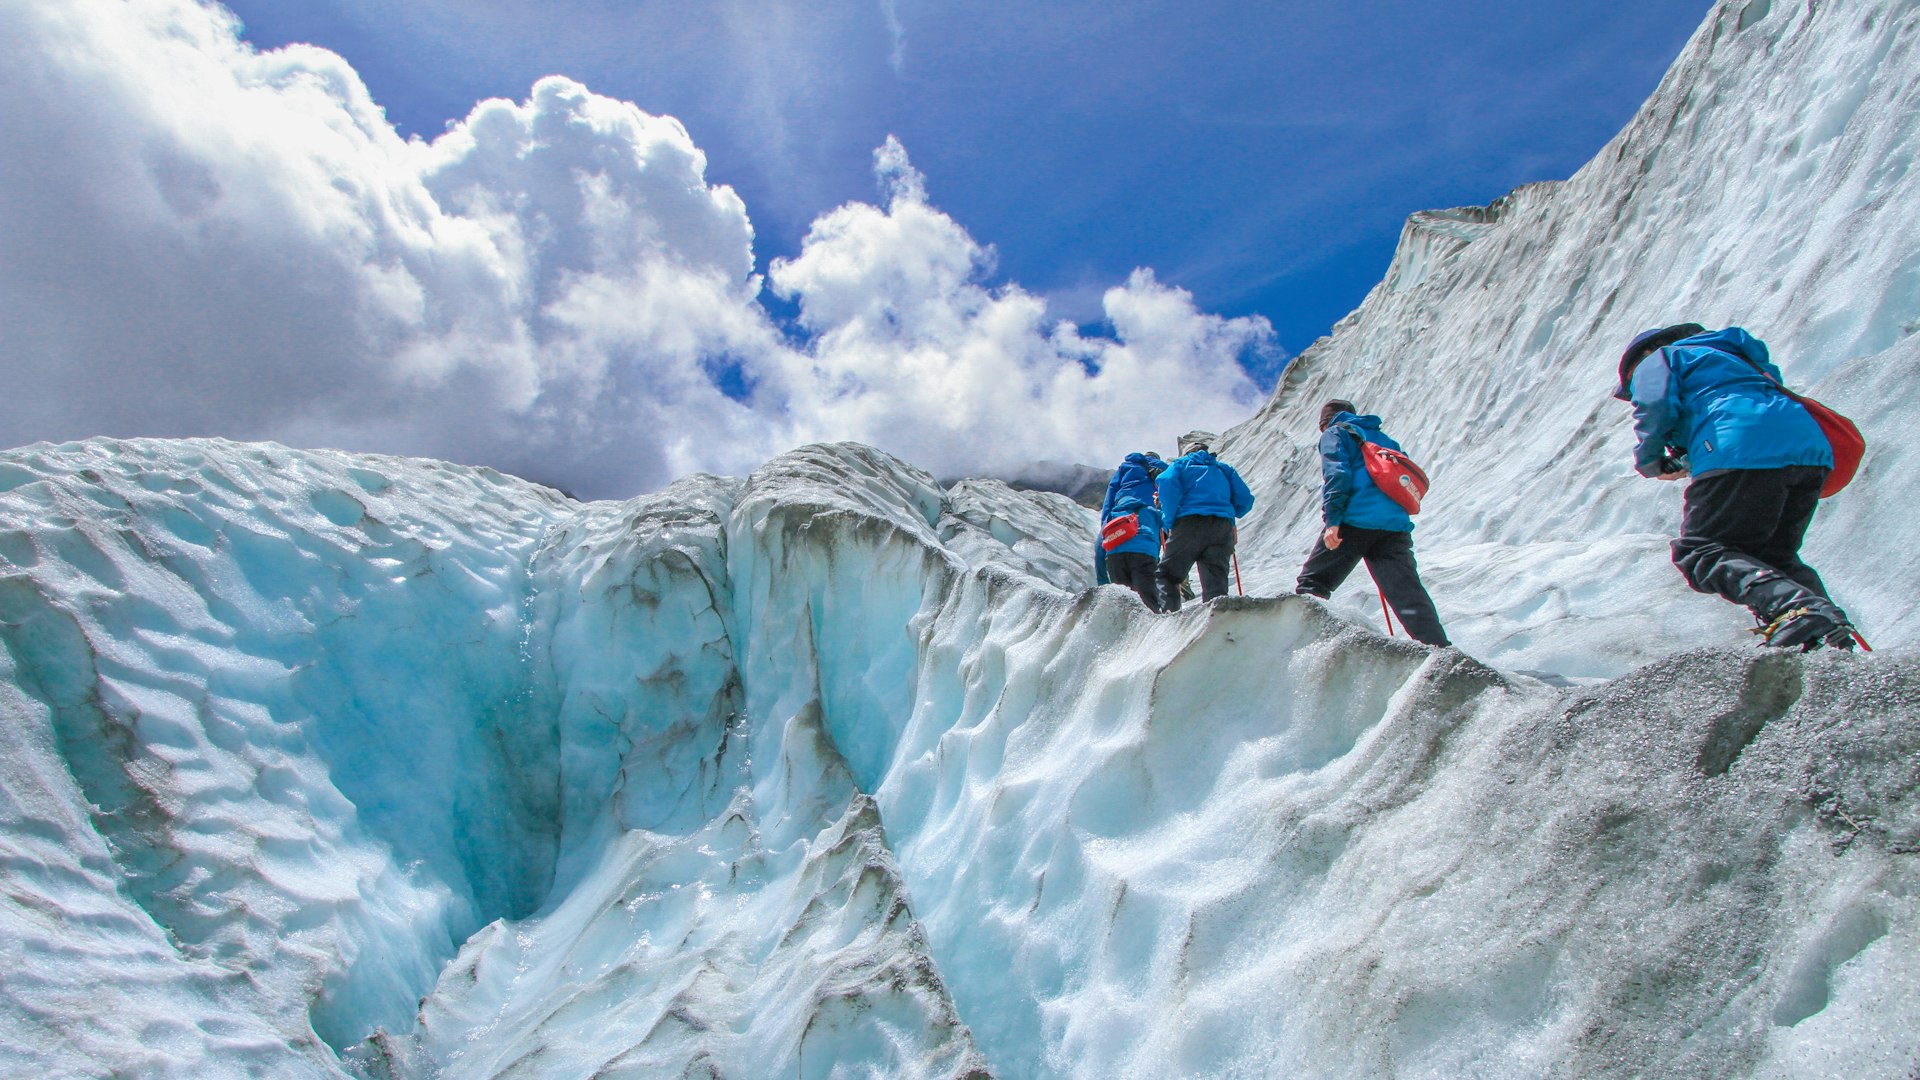
Mountaineering changes the environment as well as the angle. Snow slopes need crampons and an ice axe, and the skill of self-arrest: stopping a slide with the axe before it becomes a fall. Glaciers hide crevasses under snow bridges, so climbers travel roped together and must know how to haul a teammate out of a crevasse. Avalanche terrain, cornices, whiteouts and very early starts are all part of the game.
Mount Rainier is the classic first big glacier peak in the Lower 48, and a good illustration of the scale. According to Mount Rainier National Park, every route to the 14,410-foot summit involves more than 9,000 feet of elevation gain over more than 10 miles, climbs usually take three to four days, and climbers must be in excellent physical condition with technical glacier-travel rope skills. Any climber going onto a glacier or above the high camps at about 10,000 feet must register and pay the climbing fee of $82 per person, plus a wilderness permit fee of $12 per person per night in summer, as of 2026.
Cold is a constant risk at every stage. Long belays, wind on a ridge and an unplanned night out can all lead to hypothermia even in July; see our guide to hypothermia signs and prevention and our guide to layering clothes for the clothing system mountaineering builds on.
Altitude and how to acclimatize
The CDC’s high altitude guidance says people traveling above about 8,000 feet may be at risk of altitude illness. The cure for that risk is time, not strength, and the CDC sets out three prevention rules:
- Avoid going from low elevation to above 9,000 feet in a single day.
- Once above 9,000 feet, increase your sleeping elevation by no more than 1,600 feet a day.
- For every 3,300 feet you climb, spend an extra day at that elevation before going higher.
| Condition | Signs the CDC lists | What to do |
|---|---|---|
| Acute mountain sickness (AMS) | Headache, tiredness, loss of appetite, nausea, vomiting | Stop climbing, rest; descend if it worsens |
| High altitude cerebral edema (HACE) | Extreme fatigue, drowsiness, confusion, loss of coordination | Emergency: descend immediately and get help |
| High altitude pulmonary edema (HAPE) | Shortness of breath, weakness, cough | Emergency: descend immediately and get help |
The CDC’s bottom line: a person whose symptoms get worse while resting should go to a lower elevation. On a mountain, descent is the treatment, and it is easiest while the person can still walk.
What each step demands in skills, gear and training
| Stage | Key skills | Added gear | How people usually learn |
|---|---|---|---|
| Long, steep hiking (Class 1 to 2) | Pacing, navigation, weather judgment | Ten Essentials, good footwear, poles | Progressively longer hikes |
| Scrambling (Class 3) | Downclimbing, testing holds, route-finding | Helmet, sticky-soled shoes | Easy scrambles with experienced partners |
| Roped rock (Class 4 to 5) | Belaying, knots, anchors, rappelling | Harness, rope, protection, belay device | Gym course, then guided outdoor course |
| Snow climbing | Crampon technique, self-arrest, avalanche awareness | Crampons, ice axe, stiff boots | Snow skills course |
| Glacier mountaineering | Rope travel, crevasse rescue, altitude management | Glacier rope kit, pulleys, warm layers | Glacier course, guided first ascent |
When to hire a guide, and what it costs
For a first glaciated peak, hire one. Mount Rainier’s main guiding contracts are held by three companies: Alpine Ascents International, International Mountain Guides and Rainier Mountaineering Inc., with more than a dozen other services authorized for single trips. RMI’s four-day climb, which needs no technical experience but expects excellent fitness, carrying 35 to 45 pound packs and summit days of 10 to 14 hours, is listed at $2,595 to $2,995 for 2026. That includes a mountaineering day school on the lower slopes, shelter at Camp Muir, park permits and group gear.
The price buys training, a guide who knows the mountain’s current conditions, and a team that can handle a crevasse fall. Guides are also worth it for your first outdoor multi-pitch routes and for any objective where you are not yet sure you would recognize a mistake.
Turnaround times and the descent
The most important mountain skill is not technical. It is setting a turnaround time before you start and keeping it, whatever the summit looks like from where you are standing. The summit is optional; getting down is not. Tired climbers who reach the top late still have the hardest part ahead: the descent, in fading light, on legs that are already spent. Our guide to how far you can hike in a day shows how to estimate time with elevation gain, which is the starting point for a sensible turnaround.
A progression that works
- Build a base of long, steep day hikes with real elevation gain.
- Add Class 2 and easy Class 3 scrambles in good weather, with someone more experienced.
- Take an indoor climbing course, then a guided outdoor rock course.
- Take a snow skills course before any steep snow or glacier.
- Climb your first glaciated peak with a guide or a trained, experienced team.
At every stage, the useful test is the same: if the weather turned and you had to retreat right now, could you get down what you just climbed up? If the answer is no, that is the point to turn around.
Questions people ask
What is Class 3 scrambling?
Class 3 is terrain where you need your hands to move upward, not just for balance, and where a fall could cause serious injury. Most people climb it without a rope, but the exposure can be real. Rocky Mountain National Park describes the Keyhole Route on Longs Peak, a popular scramble, as a climb rather than a hike, where an unroped fall would likely be fatal.
What is the difference between scrambling and mountaineering?
Scrambling is moving over steep rock using hands and feet, usually without a rope, in summer conditions. Mountaineering is climbing mountains where snow, ice, glaciers, altitude and long days are part of the challenge, which means crampons, an ice axe, roped glacier travel and crevasse rescue. Many mountaineering routes include scrambling, but scrambling alone does not prepare you for a glacier.
Do I need a guide to climb Mount Rainier?
No law requires one, and the park allows independent climbs with a permit, but for a first glaciated peak a guide is strongly recommended. Rainier involves more than 9,000 feet of elevation gain over more than 10 miles. Three companies hold the park's main guiding contracts, and a classic four-day guided climb from Rainier Mountaineering Inc. is listed at $2,595 to $2,995 for 2026.
At what altitude does altitude sickness start?
The CDC says travelers going above about 8,000 feet may be at risk of altitude illness. Early signs are headache, tiredness, loss of appetite and nausea. Avoid going from low elevation to above 9,000 feet in one day, and once above 9,000 feet raise your sleeping elevation by no more than 1,600 feet a day. If symptoms get worse while resting, go down.
How do I start mountaineering as a beginner?
Build a base of long, steep hikes and some Class 2 and 3 scrambling in good weather. Take an indoor climbing course, then an outdoor rock course with a certified guide. Before any glacier, take a snow skills course covering crampons, self-arrest and rope travel. Then climb a first glaciated peak with a guide or experienced, trained partners.
Keep going
Next on the trail
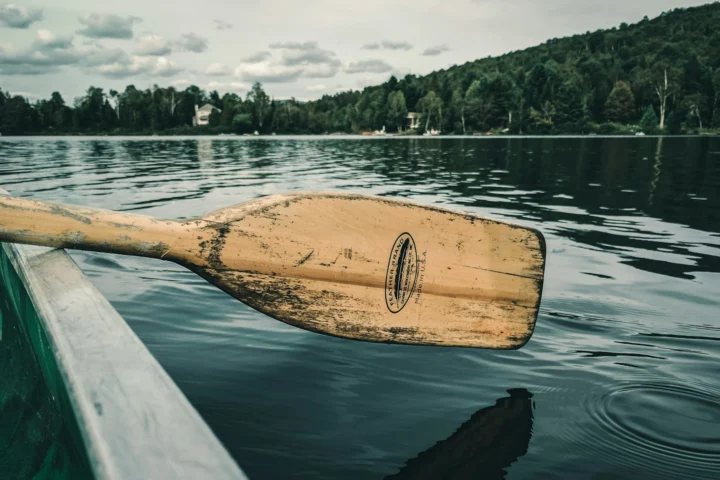
How to Choose a Canoe Paddle: Length, Bent vs Straight Shaft, Blades and Materials
To choose a canoe paddle, size it by your seated torso, not your height: sit on a flat chair and measure from…
Oct 13, 2026 · 8 min
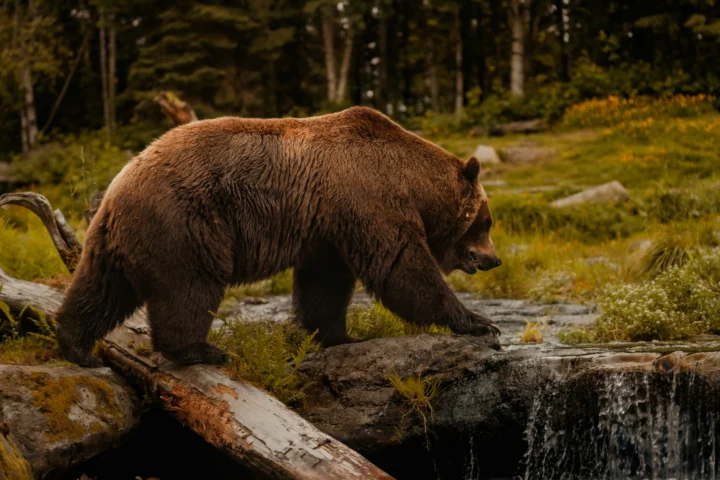
Bear Canister Guide: Where They’re Required, Which Ones Count and How Much Food Fits
A bear canister is a hard-sided, lockable food container that bears can't open. It is required for backcountry camping in Yosemite, parts…
Oct 13, 2026 · 9 min
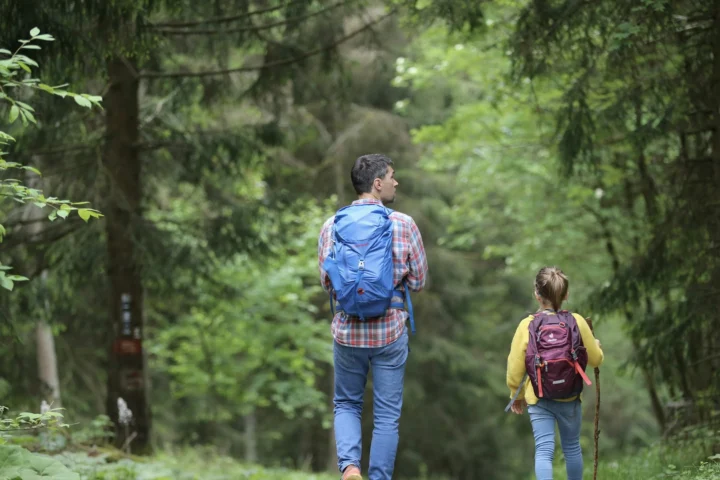
Backpacking With Kids: Ages, Distances and How to Plan the First Overnight
Kids can go backpacking at almost any age, but the first trip should be one night and 1 to 3 miles from…
Oct 13, 2026 · 8 min