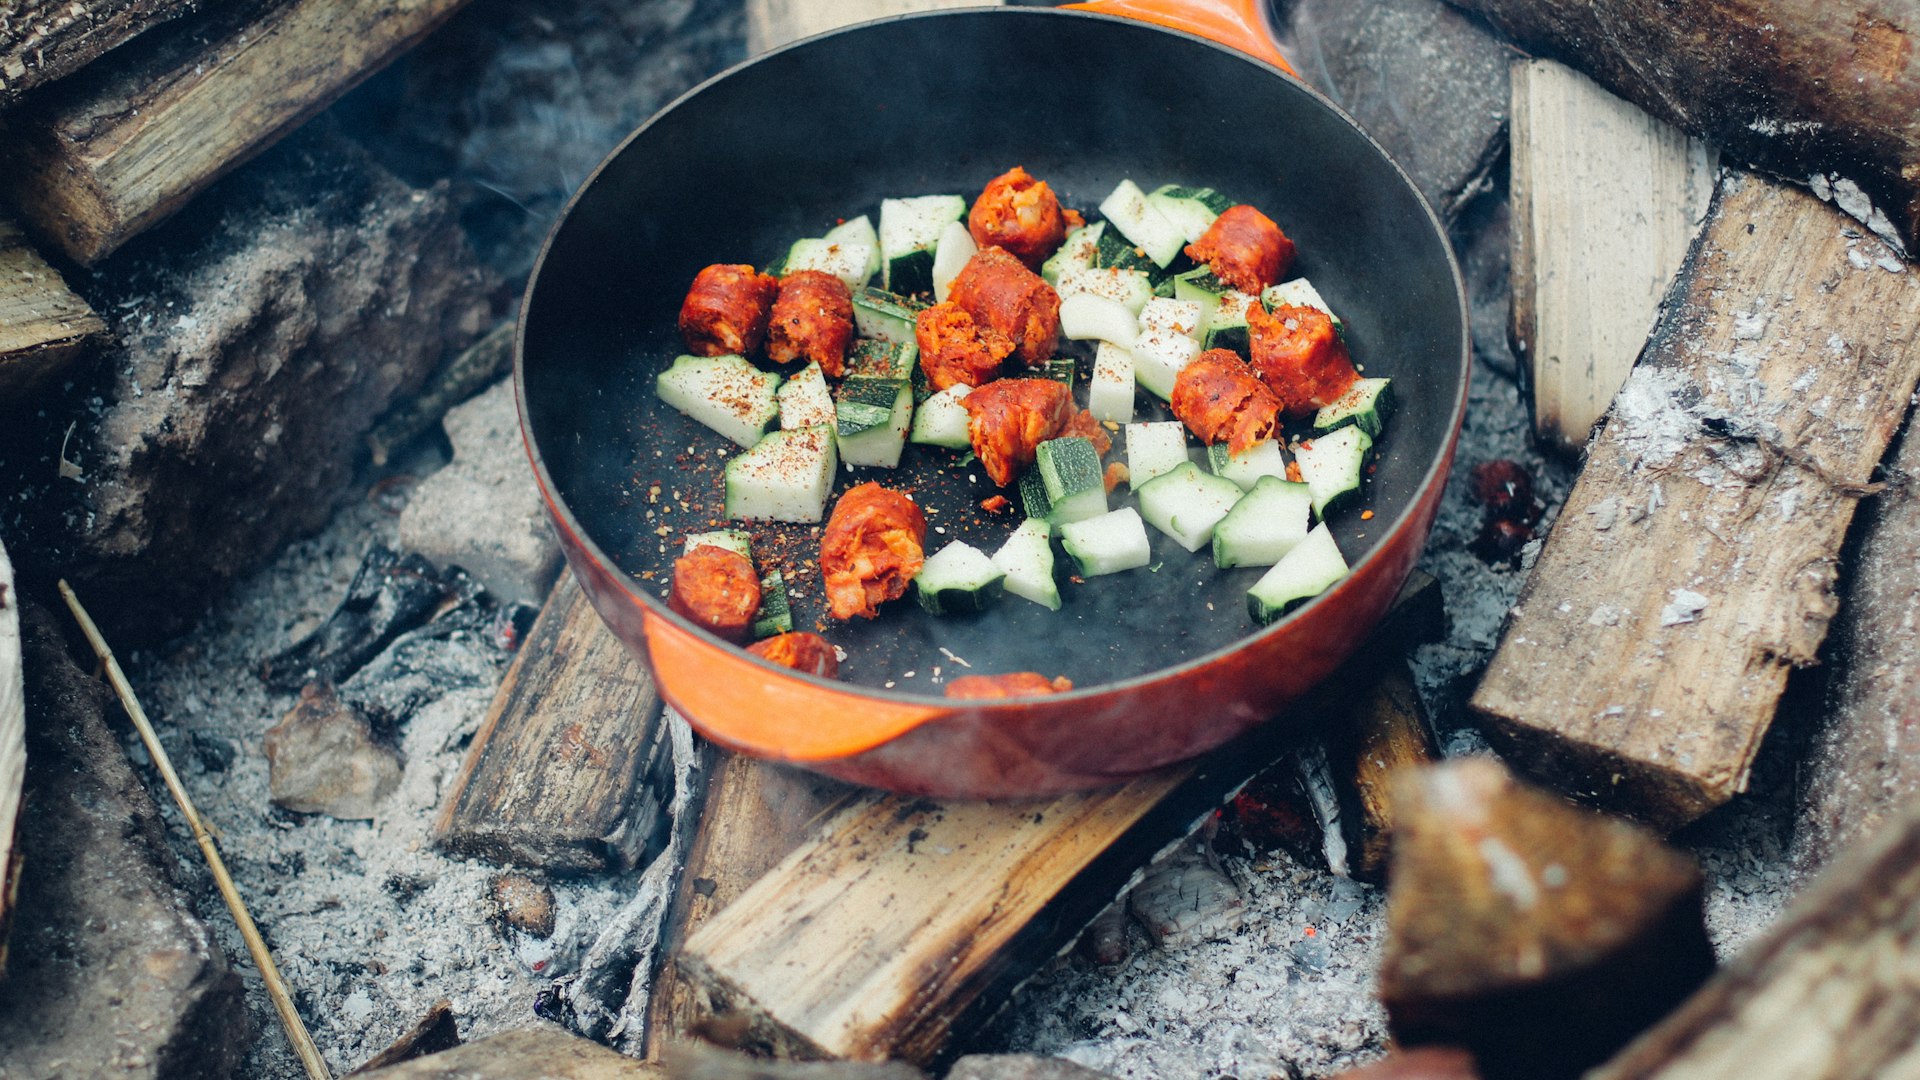
Campfire Cooking Basics: Cook Over Coals, Not Flames
By the Outdoors Haven editors 8 min read Updated October 6, 2026
What changed: Expanded in October 2026 and re-checked against official sources such as the NPS, state agencies and manufacturers.
Pack this into your head
- Flames char the outside and leave the inside raw; coals cook evenly
- Start the fire 30 to 45 minutes before you plan to eat
- Rake coals deep on one side and thin on the other for two heat zones
- Cast iron, a grill grate and foil packets are the tools that work
- Use a thermometer: 165°F for poultry, 160°F for ground meat
- Buy firewood near camp and put the fire out with water, not dirt
On this route
Good campfire cooking happens over coals, not flames. Light the fire 30 to 45 minutes before you want to eat so it burns down to a bed of glowing embers, rake those embers into a hot side and a cooler side, and cook on a grate, in cast iron, or in foil packets set on the coals. Check meat with a thermometer, and when you are done, drown and stir the fire until it is cold to the touch.
Almost every disappointing camp meal, burned on the outside and raw in the middle with soot on everything, comes from cooking over flames. Flames are for warmth and for looking at. Coals give steady, even heat you can control by moving food a few inches, and once that idea clicks, camp food improves more than any recipe can make it.
Why coals cook and flames burn
Flames are hot, uneven and constantly moving. They lick the outside of a pan or a sausage, leave carbon behind, and pass heat in bursts. A bed of coals radiates heat steadily from below, much like a charcoal grill, and that is what cooks food through.
Plan on roughly 30 to 45 minutes from lighting to cooking, longer for a big fire or damp wood. The fire is ready when most of the wood has collapsed into glowing embers with a gray ash coating and only small flames remain. The wood matters:
- Hardwoods such as oak, maple, hickory and fruit woods burn down to dense, long-lasting coals.
- Softwoods such as pine and spruce light fast and burn hot, but flare, spit resin and burn down quickly. They are good for getting a fire going, poor for cooking on.
- Charcoal briquettes in a fire ring or a freestanding grill give the most predictable heat, and Leave No Trace notes charcoal should stay within fire rings or grills.
Building a cooking fire
Use the existing fire ring at your campsite. Leave No Trace’s campfire principle calls an established fire ring the best place for a fire, recommends keeping fires small, and, in the backcountry, using only sticks from the ground that you can break by hand. Our guide to the Leave No Trace principles covers the rest.
Bring or buy firewood locally. Firewood carries tree-killing insects and diseases, and Leave No Trace says wood sourced within about 50 miles of where you burn it will generally do, though local land managers may set their own rule. Many campgrounds sell bundles at the entrance.
Build a log-cabin or teepee fire with tinder, then kindling, then wrist-thick pieces, and let it burn hard for the first half hour. A slightly bigger fire than you think you need, burned down, gives a deeper coal bed than a small one you keep feeding.
Make two heat zones
Once the fire has burned down, use a stick or a small shovel to rake the coals so they are piled deep on one side of the ring and spread thin on the other. You now have a hot zone for searing, boiling and quick cooking, and a cool zone for food that needs time, for keeping things warm, and for rescuing anything that starts to burn.
Push a few unburned logs to the back of the ring and keep them burning there. They feed fresh coals into the cooking area as you need them, so you never have to add a log under the pan and wait for it to stop flaming.
The easiest heat control outdoors is distance. Raise the grate, slide the pan toward the cool side, or move a foil packet to the edge of the coals. Without zones you have one temperature, which is usually too much.
Cookware and methods that work
| Method | Best for | How to make it work |
|---|---|---|
| Grill grate over coals | Burgers, sausages, steaks, vegetables, toast | Clean the campground grate or bring your own; preheat it over the hot zone |
| Cast-iron skillet | Eggs, bacon, pancakes, fried potatoes, quesadillas | Set it on the grate, not in flames; move it between zones to control heat |
| Camp Dutch oven | Chili, stew, cornbread, biscuits, cobbler | Legs sit over coals; put coals on the flanged lid too for baking, more on top than below |
| Foil packets | Potatoes, vegetables, fish, sausage, chicken | Heavy-duty or double foil, tightly sealed, on coals at the edge; turn once |
| Skewers and roasting sticks | Hot dogs, kebabs, marshmallows, bread on a stick | Metal skewers; hold over coals, not flames |
| Pot for boiling | Pasta, coffee, dishwater | Heavy pot on the grate over the hot zone; a lid speeds it up |
What does not work well: thin pans that scorch, nonstick coatings that are not made for direct fire, plastic handles, and stove recipes that depend on precise timing and a heat you can dial in. Bring a heavy leather glove or pot lifter, long tongs, and a spatula with a long handle.
On a family trip, many campers use a camp stove for breakfast coffee and save the fire for dinner. That is not cheating; it is how you eat before 9 a.m.
Foil packets: the most forgiving camp meal
Foil packets are close to foolproof and leave almost nothing to wash. Cut everything to a similar size so it cooks evenly, add a little fat and seasoning, and seal tightly.
- Tear a sheet of heavy-duty foil about twice the length of the food pile, or use two layers of regular foil.
- Pile sliced potatoes, onions, peppers and precooked sausage in the center with butter or oil, salt and pepper.
- Bring the long sides together, fold them down tightly, then fold and crimp the ends.
- Set the packet on coals at the edge of the fire, not in flames.
- Cook about 20 to 25 minutes for potatoes and sausage, turning once with tongs, then open one carefully to check. Steam escapes fast.
Raw chicken and fish work too, but cut them thin and check the thickest piece with a thermometer.
Food safety at camp
Firelight makes it hard to judge whether meat is done, so pack a small instant-read thermometer. These are the minimum internal temperatures from FoodSafety.gov:
| Food | Safe minimum internal temperature |
|---|---|
| Chicken, turkey and all poultry | 165°F (74°C) |
| Ground meat and sausage (beef, pork) | 160°F (71°C) |
| Beef, pork and lamb steaks, chops, roasts | 145°F (63°C), then rest 3 minutes |
| Fish | 145°F (63°C), or until opaque and flaking with a fork |
| Leftovers and casseroles | 165°F (74°C) |
Keep raw meat sealed and at the bottom of the cooler so it cannot drip on other food, use a separate cutting board and tongs for raw meat, and keep the cooler in the shade with the lid closed. Wash hands before cooking, which at most campsites means a water jug and soap rather than a sink.
In bear country, food storage is part of cooking. Cook and eat away from your tent, store food and trash in a locker or hard-sided vehicle where allowed, and never leave the cooler out. Our guide to bear spray and food storage covers the rules in grizzly country, and how to choose a tent helps with laying out a campsite.
Prep at home, cook at camp
Most of the work of a good camp meal happens in your kitchen the day before. Chop vegetables, marinate meat in sealed bags, premix pancake batter dry ingredients, and portion spices into small containers. Precook anything slow, such as chili or pulled pork, and let the fire do the last 15 minutes of reheating. Freeze marinated meat flat in bags: it doubles as an ice pack and thaws by the second night.
A simple two-night plan for car camping:
- Night one: chili made at home, reheated in a Dutch oven, with cornbread or tortillas.
- Morning: bacon and eggs in the skillet over the cool zone.
- Night two: foil packets assembled at home, plus corn in the husk on the grate.
- Dessert: s’mores, or a Dutch oven cobbler from canned fruit and a boxed mix.
Our car camping checklist covers the rest of the camp kitchen, from the cooler to dish soap. On a paddling trip, where weight and space are tighter, planning a first canoe trip covers food that travels well.
Fire safety and restrictions
Check fire restrictions before you leave and again on arrival. Bans are common in dry seasons, can start mid-week, and sometimes allow gas stoves but not wood fires. Rangers, campground hosts and the managing agency’s website will have the current rule.
Smokey Bear’s campfire safety guidance sets out the basics:
- Keep the fire at least 15 feet from tents, vegetation and low branches, and clear a 10-foot circle around the pit.
- Use an existing fire ring where there is one.
- Never use gasoline or other flammable liquids to start or revive a fire.
- Keep a bucket of water and a shovel within reach, not somewhere in the car.
- Never leave a fire unattended, even for a few minutes.
To put it out, follow the drown, stir, drown, feel sequence: pour water until the hissing stops, stir the embers and ashes with the shovel, add more water, and hold the back of your hand over the ashes. If it is too hot to touch, it is too hot to leave. Leave No Trace adds that dirt alone may not fully put a fire out, so use water.
Budget the water for this when you fill jugs at the start of the trip. Putting out a cooking fire properly takes more than a single bottle, and the last bucket you carry to the fire ring each night matters more than anything you cooked on it.
Questions people ask
How long does a campfire take to be ready for cooking?
Usually 30 to 45 minutes from lighting, depending on the wood. You want a bed of glowing embers with a coating of gray ash and few or no tall flames. Dense hardwoods such as oak and maple make longer-lasting coals than softwoods such as pine, which flare and burn down quickly. Light the fire before you start prepping food, not when you are already hungry.
What is the best pan for campfire cooking?
Cast iron. A skillet or a camp Dutch oven with legs and a flanged lid heats slowly, holds that heat, and spreads it evenly, which smooths out the hot spots of an uneven fire. Thin aluminum or stainless pans burn food quickly, and nonstick coatings are not designed for direct fire. Bring a heavy glove or pot lifter, because every handle gets hot.
Can you cook directly on the coals?
Yes. Foil packets go straight onto the coals, and so do potatoes and corn wrapped in heavy-duty foil. Use two layers of foil or heavy-duty foil, seal the edges tightly, and set packets on coals at the edge of the fire rather than in flames. Turn once with tongs. Steak can even be seared directly on a clean bed of hardwood coals.
How do you know when campfire food is cooked?
Use a food thermometer, because firelight makes color hard to judge. FoodSafety.gov lists 165°F for all poultry, 160°F for ground meat and sausage, and 145°F for steaks, chops and fish, with a three-minute rest for steaks and chops. Reheated leftovers should reach 165°F. Cut into foil packets with chicken to check that the thickest piece is done.
How do you put out a campfire properly?
Smokey Bear's method is drown, stir, drown again, then feel. Pour water until the hissing stops, stir the ashes and embers with a shovel, add more water, and hold the back of your hand near the ashes. If it is too hot to touch, it is too hot to leave. Leave No Trace adds that dirt alone may not fully put a fire out.
Keep going
Next on the trail
Car Camping Checklist: Everything to Pack, and What First-Timers Forget
A car camping checklist covers six groups: shelter (tent, footprint, stakes, tarp), sleep (sleeping bag, pad, pillow), kitchen (stove, fuel, lighter, pots,…
Sep 29, 2026 · 7 min
How to Plan Your First Canoe Trip: Route, Permits, Gear and Safety
Plan your first canoe trip on flat water, such as the Boundary Waters in Minnesota or Algonquin in Ontario, for two or…
Oct 6, 2026 · 7 min
How to Choose a Tent: Capacity, Season Ratings and What They Hide
To choose a tent, size up: a tent's capacity assumes sleepers packed shoulder to shoulder with little room for gear, so two…
Oct 6, 2026 · 7 min